Your Cart is Empty


We know how much time you spend crafting your projects: choosing the perfect pattern and yarn, and then knitting, crocheting or weaving your project. In today’s tutorial, we’ll discuss how to weave in ends using duplicate stitch on the wrong side of your work, both in garter and stockinette stitch. This method is simple to learn and use, with the added bonus that it blends in perfectly, giving each and every project you create the perfect finish.
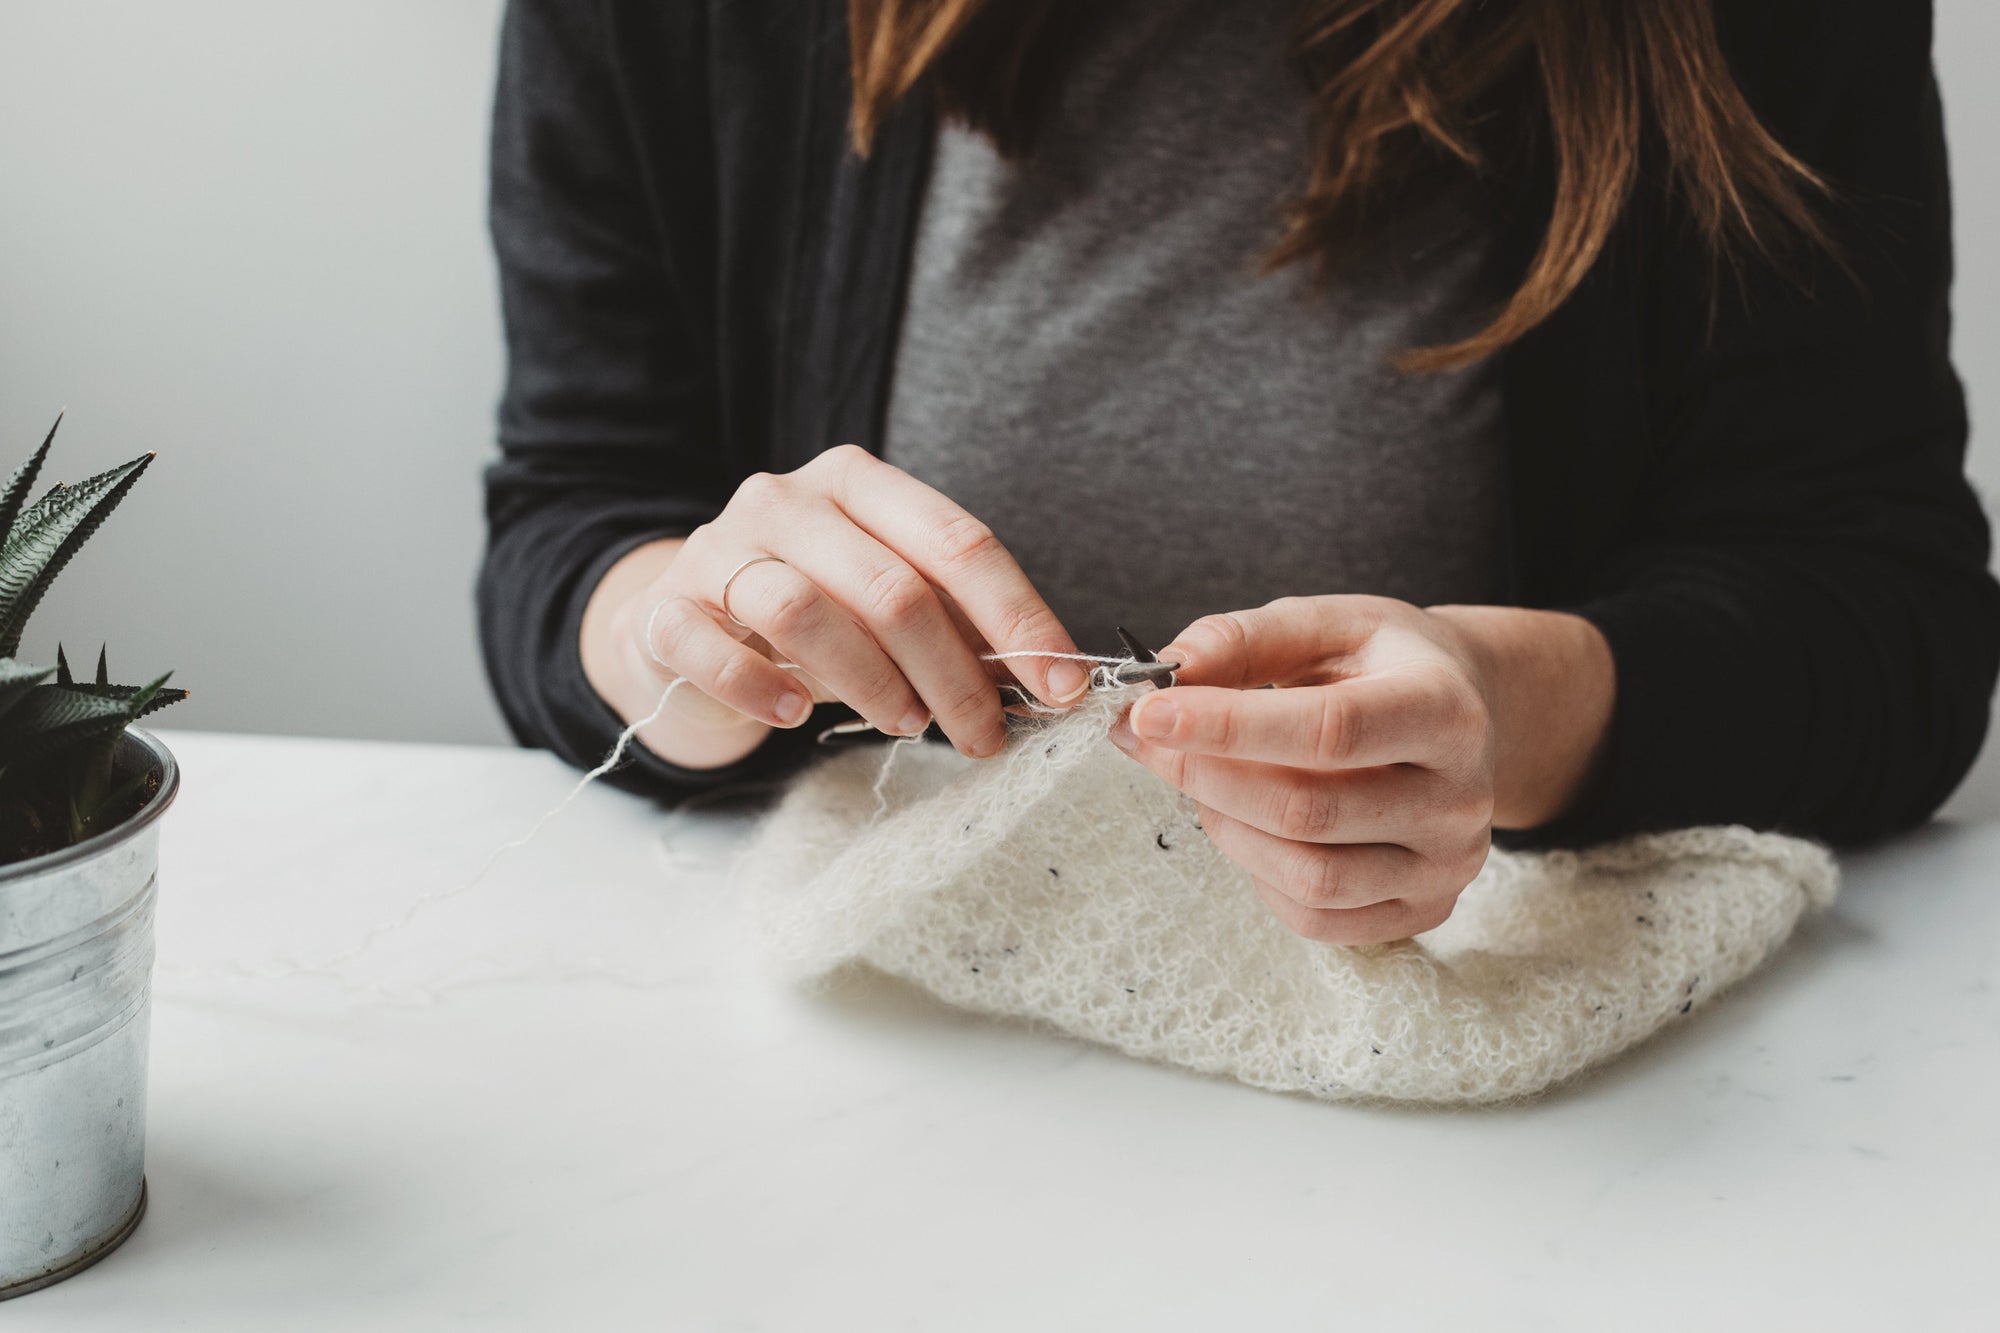
To weave in ends, you will need a tapestry needle (sometimes called a yarn needle) of appropriate size for your yarn, and a pair of sharp scissors. Good lighting helps, too!
Here, we’ll use a contrasting colour of yarn so you can follow the steps easily - obviously, you’ll be using the same yarn as in your project so your finishes will blend into your piece. In general, we like to weave our ends inbefore blocking, but we wait to trim the ends untilafter the piece is blocked. This allows you to do your finishing work as you finish your crafting, but also allows the fabric to stretch and adjust during blocking. If you trim your ends before you block, be sure that you have woven in your ends through enough stitches, and allowed enough give that your ends won’t pull out when the garment is stretched.
Garter Stitch Finishes
To weave in ends in a garter stitch project, use the following steps.
Step 1: Thread your needle with your tail. On the wrong side of your work, insert the needle up through the first stitch. Pull yarn through so the stitch is snug, but not too tight, allowing for some stretch.

Step 2: Now you will follow the loop on top of the stitch and insert the needle down through the next stitch in the same row.

Step 3: Now comes the tricky part: even though your garter ridges look like they could be woven together, there is actually a row of knit stitches in between.
Separate the ridges so you can see the channel in between, and insert your needle under both legs of the next stitch. If you look closely, you will see that you’re following a single strand of yarn through the stitches on the current row.

Repeat Steps 1-3 several more times; we like to do this sequence a minimum of 4-6 times to ensure a secure finish. When you are done, your project will look like this:

Again, you want to be sure that your yarn is pulled through securely, without a lot of slack. However, be sure that you haven’t pulled too tightly and that your work can lay flat and relaxed.
Now, if you look at the right side of your work, you will see that despite the obvious duplicate stitches on the wrong side of your work, there is only a little glimpse of the blue on the front of the work:

When you are using matching yarn in your projects, this little line will fade into the channel between garter ridges:


Stockinette Stitch Finishes
To weave in ends on a stockinette stitch project, you will use the following steps.
Step 1: Thread your needle with your tail. On the wrong side of your work, insert the needle diagonally up through two stitches. Pull yarn through so the stitch is snug, but not too tight, allowing for some stretch.

Step 2: Now you will follow the loop on top of the top most stitch and insert the needle diagonally down through the next two stitches in the same row.

Now you will follow the loop under the bottom most stitch, and repeat Step 1 again. Continue repeating Steps 1-2 several more times; we like to do this a minimum 4-6 times to ensure a secure finish. When you are finished, the wrong side of your project will look like this:

On the right side, the duplicate stitch finish is completely invisible - just like magic!

When using the same colour of your project, particularly in the case of dark yarns, it’s even hard to find where you wove in the ends on the wrong side of the work. The only sign below is where we clipped the end:

And that’s all there is to weaving in ends using duplicate stitch! We hope this will help you achieve the perfect finish to every project. We also recommend bookmarking or pinning this post on Pinterest to save it for later.
We look forward to seeing your perfectly finished projects. Please share them with us using the #ZenYarnGarden hashtag on Instagram, and follow us@zenyarngarden to see more of our products and projects.
Like this post? Pin it!