Your Cart is Empty


It’s the best feeling.
You’ve received your yarn in the mail. Squishy, squishy mail. You pull it out of the package, admire it lovingly and, not long after, decide, you need to cast on. Here we go. You open up your hank and….are really are not sure what to do with it.
You can scour Google for help, but we’re hoping to make it easier for you—and anticipate any troubleshooting you may have to do! We’re setting you up for hank winding success now and in the future.
Firstly, let’s take a second to ask ourselves, why are yarns wound and packaged this way?
Not all yarns are wound the same, but we dye our yarn “in circles” which allows us the largest surface area to get our dyes into all the strands of the hank. It’s a very common technique, and it’s the reason why a lot of yarn makes its way to you wound and bound this way. It also allows us to apply colors in a special way for unique effects and they fit well into our dye pots.

We highly recommend using a swift and ball winder to turn your hanks and skeins into cakes and balls for the sole reason that you can throw your hank on the swift and get to winding very quickly once you're set up to go! It also ensures you have your yarn lined up properly to avoid potential tangling and pulling out the dreaded scissors to cut yourself out of a yarn disaster.
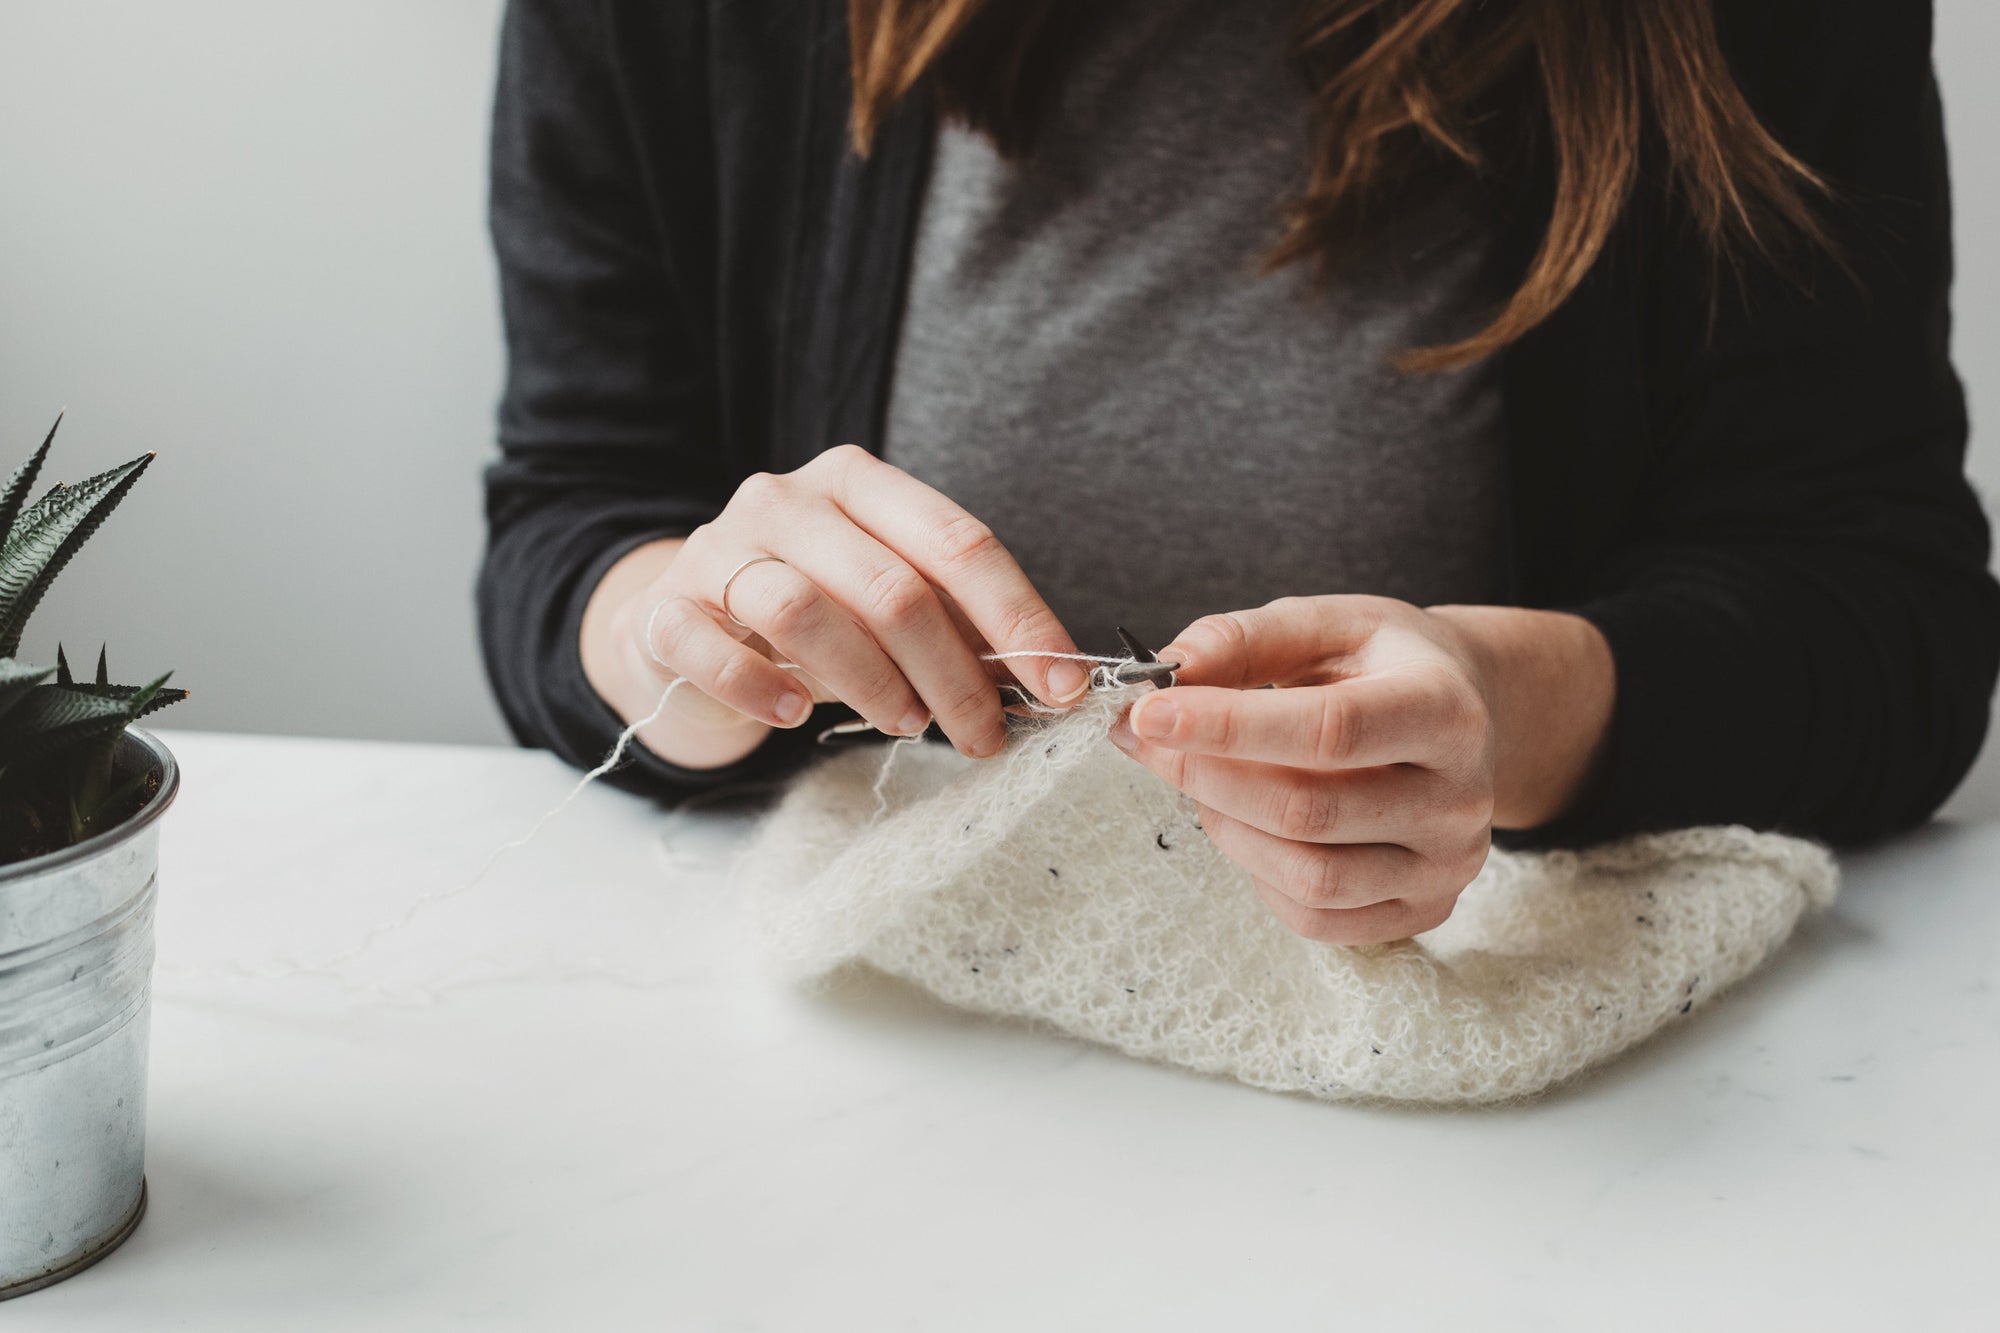
When the yarn is in your hands…
Untwist the hank into its circular shape. You will notice that our yarns have ties specifically spaced around the circle. This is purposely done in order to help us with not tangling your precious skein when we add color to it in the dye pots. Place your hank on your swift.

Once the yarn is on your swift…
Pay special attention to how the strands are going through the ties. Anything that is not lined up through the ties should be fixed to go the proper direction through the ties.
After you ensure the yarn strands are lined up, you can now cut off the ties. There will be two ties that you can cut right off and the third tie will have the two ends of the yarn tied together.

This is where you will find your yarn end to attach to your ball winder. Cut this tie then connect your yarn to your ball winder and start winding. If the yarn is winding smoothly, you can speed up, but if it's not winding off smoothly, you may need to realign your yarn strands to ensure that it does.
If you do encounter loose hanging strands, try to tuck them up so they don’t tangle, but winding can loosen them too.

Once you have wound all your yarn onto the ball winder, you will have transformed your yarn from a hank into a cake that you can knit from!
If you would like to see this technique in action, be sure to watch Staci wind a hank into a yarn cake in her video below:
If you do not own a swift and ball winder…
You can wind your hanks by hand, and use the back of a chair or have a friend hold the skein or use your knees as you wind the yarn onto your hand.
Begin by wrapping the yarn around two of your fingers like so:

Once you create a good base, you can remove the yarn from your fingers to begin wrapping the yarn around the ball you’ve created. Make sure to vary the angle at which you wrap so that you create an even ball of yarn to work from.

Continue winding yarn until you have created your very own yarn ball. You are now ready to knit!
We look forward to seeing all your creations now that you know how to handle our hanks... go forth and wind!